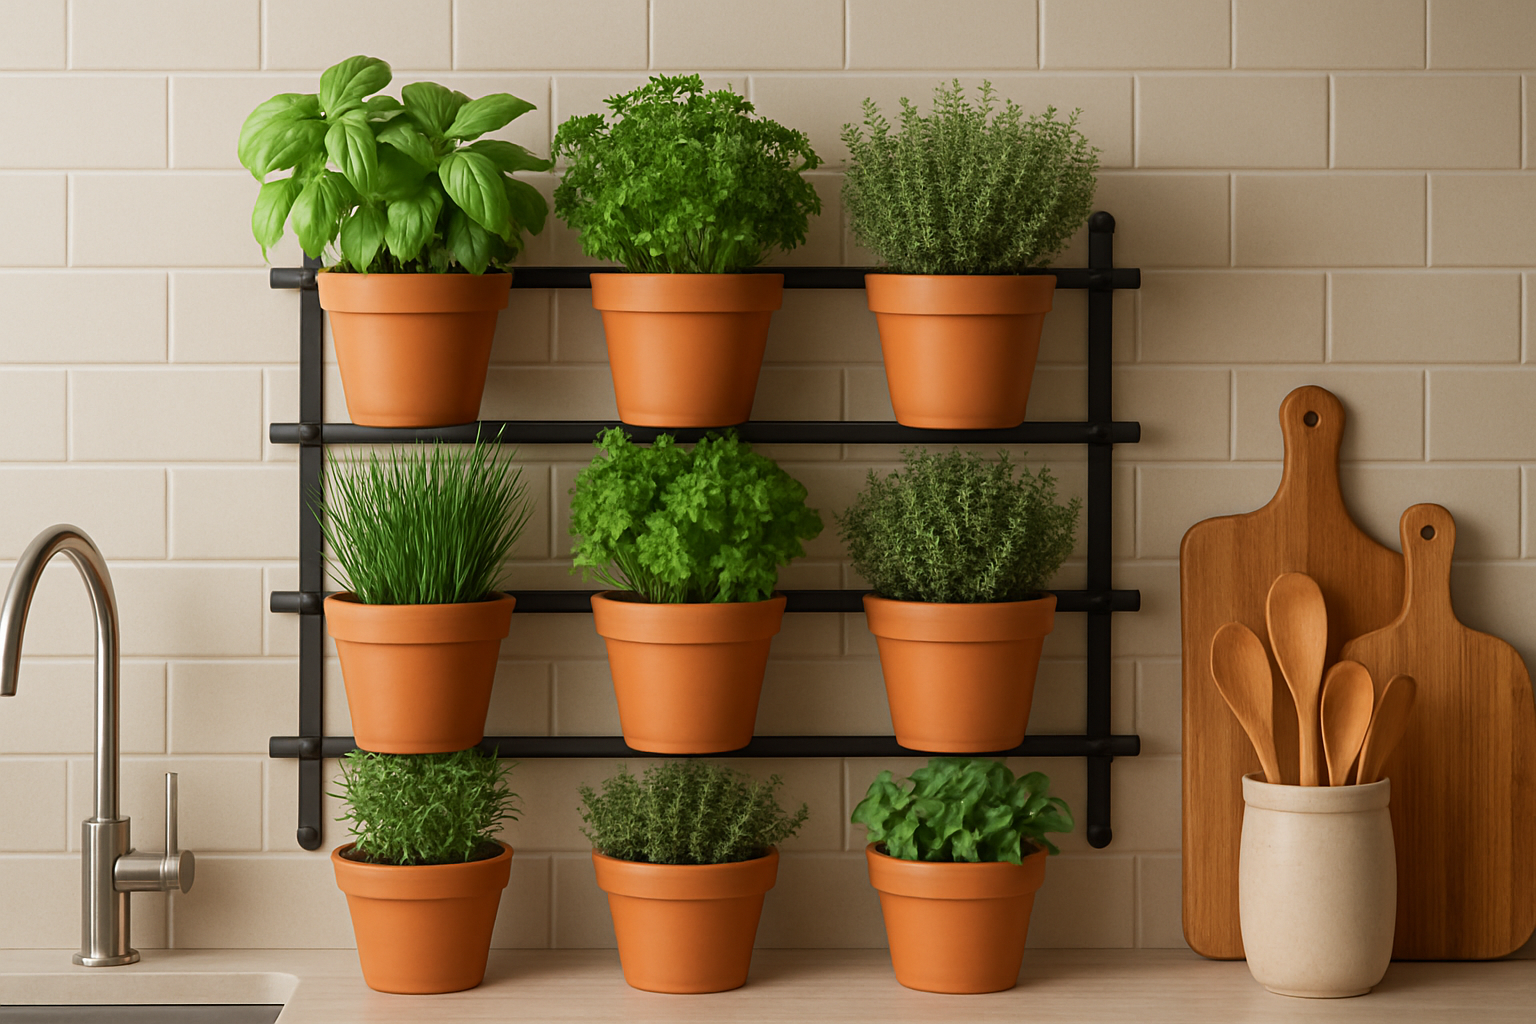
A kitchen herb wall or vertical garden is one of those rare design features that is both beautiful and functional. Not only does it add fresh greenery and texture to your kitchen, but it also ensures that you always have flavorful herbs within arm’s reach while cooking.
Whether your kitchen is spacious or compact, a vertical system is an ingenious way to save counter space, bring nature indoors, and elevate your cooking experience. With the right planning, installation, and care, you can turn a bare wall into a lush, inspiring green display.
Why a Kitchen Herb Wall Works
There are few home décor ideas as practical and stylish as a vertical herb garden. Having fresh herbs readily available means no more buying wilted bunches from the store—you simply snip what you need when you need it. This freshness not only improves the taste of your dishes but also encourages healthier cooking.
Beyond the culinary benefits, there’s the impact on your space. A green wall softens the hard lines of kitchen cabinetry, introduces natural color, and filters indoor air, making the environment feel fresher and more inviting.
Even in small apartments, a vertical garden maximizes otherwise unused wall space, transforming it into something both useful and decorative. Ultimately, it’s a way to marry style, sustainability, and convenience in a single feature.
Choosing the Right Location
The placement of your herb wall will largely determine its success. Herbs thrive in areas with ample light, so walls facing south or west usually work best. If natural light is limited, a good supplemental grow light can keep them thriving.
Easy access is also crucial—you’ll want your herbs close to where you cook so that harvesting becomes second nature.
Temperature and humidity matter too. Avoid installing your garden near ovens, stovetops, or radiators where heat may stress the plants.
Likewise, ensure good ventilation to prevent mold, especially if you opt for fabric pocket planters or dense arrangements. By taking these conditions into account before you install, you’ll avoid common problems and set your plants up for long-term health.
Selecting Herbs That Thrive Indoors
Not every herb adapts well to indoor life, so it’s important to select varieties that are compact and forgiving. Popular options include basil for Italian dishes, cilantro for Latin and Asian cooking, thyme for seasoning meats and vegetables, and parsley for just about everything.
Hardy choices like oregano and chives add both flavor and resilience, while mint works beautifully if given its own container to control spreading.
Mixing herbs with different growth habits can make your wall more visually dynamic. For example, upright basil looks striking alongside trailing mint or thyme that spills gently over the edge of its pot. Think not just about taste but also about how the different shapes, sizes, and colors of leaves will look together as a living display.
Exploring Vertical Garden Systems
There are several design approaches, each with its own advantages. Wall-mounted planters offer a clean, modern look, while fabric pocket planters are lightweight and easy to rearrange.
If you prefer flexibility, floating shelves or tiered racks allow you to move pots around, while a trellis with hanging pots works especially well for renters since it is less permanent.
When choosing your system, think about durability, ease of maintenance, and how it integrates with your kitchen’s existing style.
A row of sleek white ceramic planters can complement a contemporary design, while rustic wood shelving may suit a farmhouse-inspired kitchen. The right system balances both function and aesthetic appeal.
Design and Installation Tips
Before you drill a hole or buy supplies, sketch a layout. Grouping herbs by their light and water needs will make them easier to care for and prevent one plant from overshadowing another.
To keep the wall visually interesting, use a mix of heights and pot sizes, or incorporate decorative elements like framed prints or small kitchen tools.
When installing, ensure each pot has proper drainage to prevent water buildup. Use lightweight, well-draining potting mix rather than heavy garden soil, and make sure your mounting method is secure enough to hold the weight of soil and plants.
Once installed, give your herbs a little time to settle before heavy harvesting—it will help them establish strong roots.
- Pro tip: Label your herbs with chalkboard tags or wooden markers—both practical and decorative.
Light, Water, and Care
Herbs generally need at least six hours of direct or supplemental light daily. If your kitchen doesn’t provide this, LED grow lights are a compact and energy-efficient solution. Clip-on lamps and under-shelf lights are also excellent ways to brighten targeted spots.
Watering is often where new gardeners struggle. Check soil moisture before watering—if the top inch feels dry, it’s time. Overwatering can lead to root rot, while underwatering causes wilting.
Regular trimming keeps plants bushy and productive, while occasional light fertilizing (every four to six weeks) helps maintain healthy growth. The more consistently you tend your herb wall, the more reliable your harvest will be.
Blending Function with Décor
A kitchen herb wall isn’t just about function—it can be a strong design statement. Pair it with reclaimed wood for a rustic frame, or surround it with open shelving for cookbooks and ceramics.
Using matching containers in a uniform style creates cohesion, while mixing in trailing plants or small flowers adds softness and variety.
Because the herb wall is a focal point, it should feel intentional. Consider how the green tones play against your countertops, cabinetry, and backsplash. When integrated thoughtfully, your herb wall can feel like an extension of your kitchen design rather than an add-on.
Troubleshooting and Seasonal Adjustments
Even with careful planning, issues may arise. Yellowing leaves usually point to overwatering, while leggy growth often signals inadequate light.
Wilting can result from both underwatering and excessive heat, so adjusting conditions is key. Pests like aphids can be handled with natural remedies such as neem oil or insecticidal soap.
Seasonal changes also affect growth. Herbs flourish in spring and summer, slow down in autumn, and may need grow lights in winter.
Adjusting watering frequency and trimming during these cycles keeps your plants healthy year-round. By paying attention to your plants’ signals, you’ll learn to adapt and keep them thriving.
Conclusion: A Living Feature That Grows with You
Creating a kitchen herb wall or vertical garden is about more than fresh cooking—it’s about bringing vitality, sustainability, and design into your home. With smart planning, the right herbs, and regular care, your vertical garden becomes a practical culinary tool, a natural air filter, and a stunning focal point all in one.
Every time you snip a sprig of basil or thyme, you’ll enjoy not only better flavors but also the satisfaction of harvesting from your own wall of greenery. In the end, a kitchen herb wall is a small project with big rewards, enriching both your meals and your home environment.